
Prerequisites
Before you begin, you’ll need:- Administrative access to your Okta Workforce account
- The SSO configuration details from Ally Security (we’ll provide these after you request SSO setup)
- The email domain(s) that should be enabled for SSO
Step 1: Create a New Enterprise App in Okta
- Navigate to Okta and sign in to your admin account.
- In the Okta dashboard, select Admin in the top right corner.
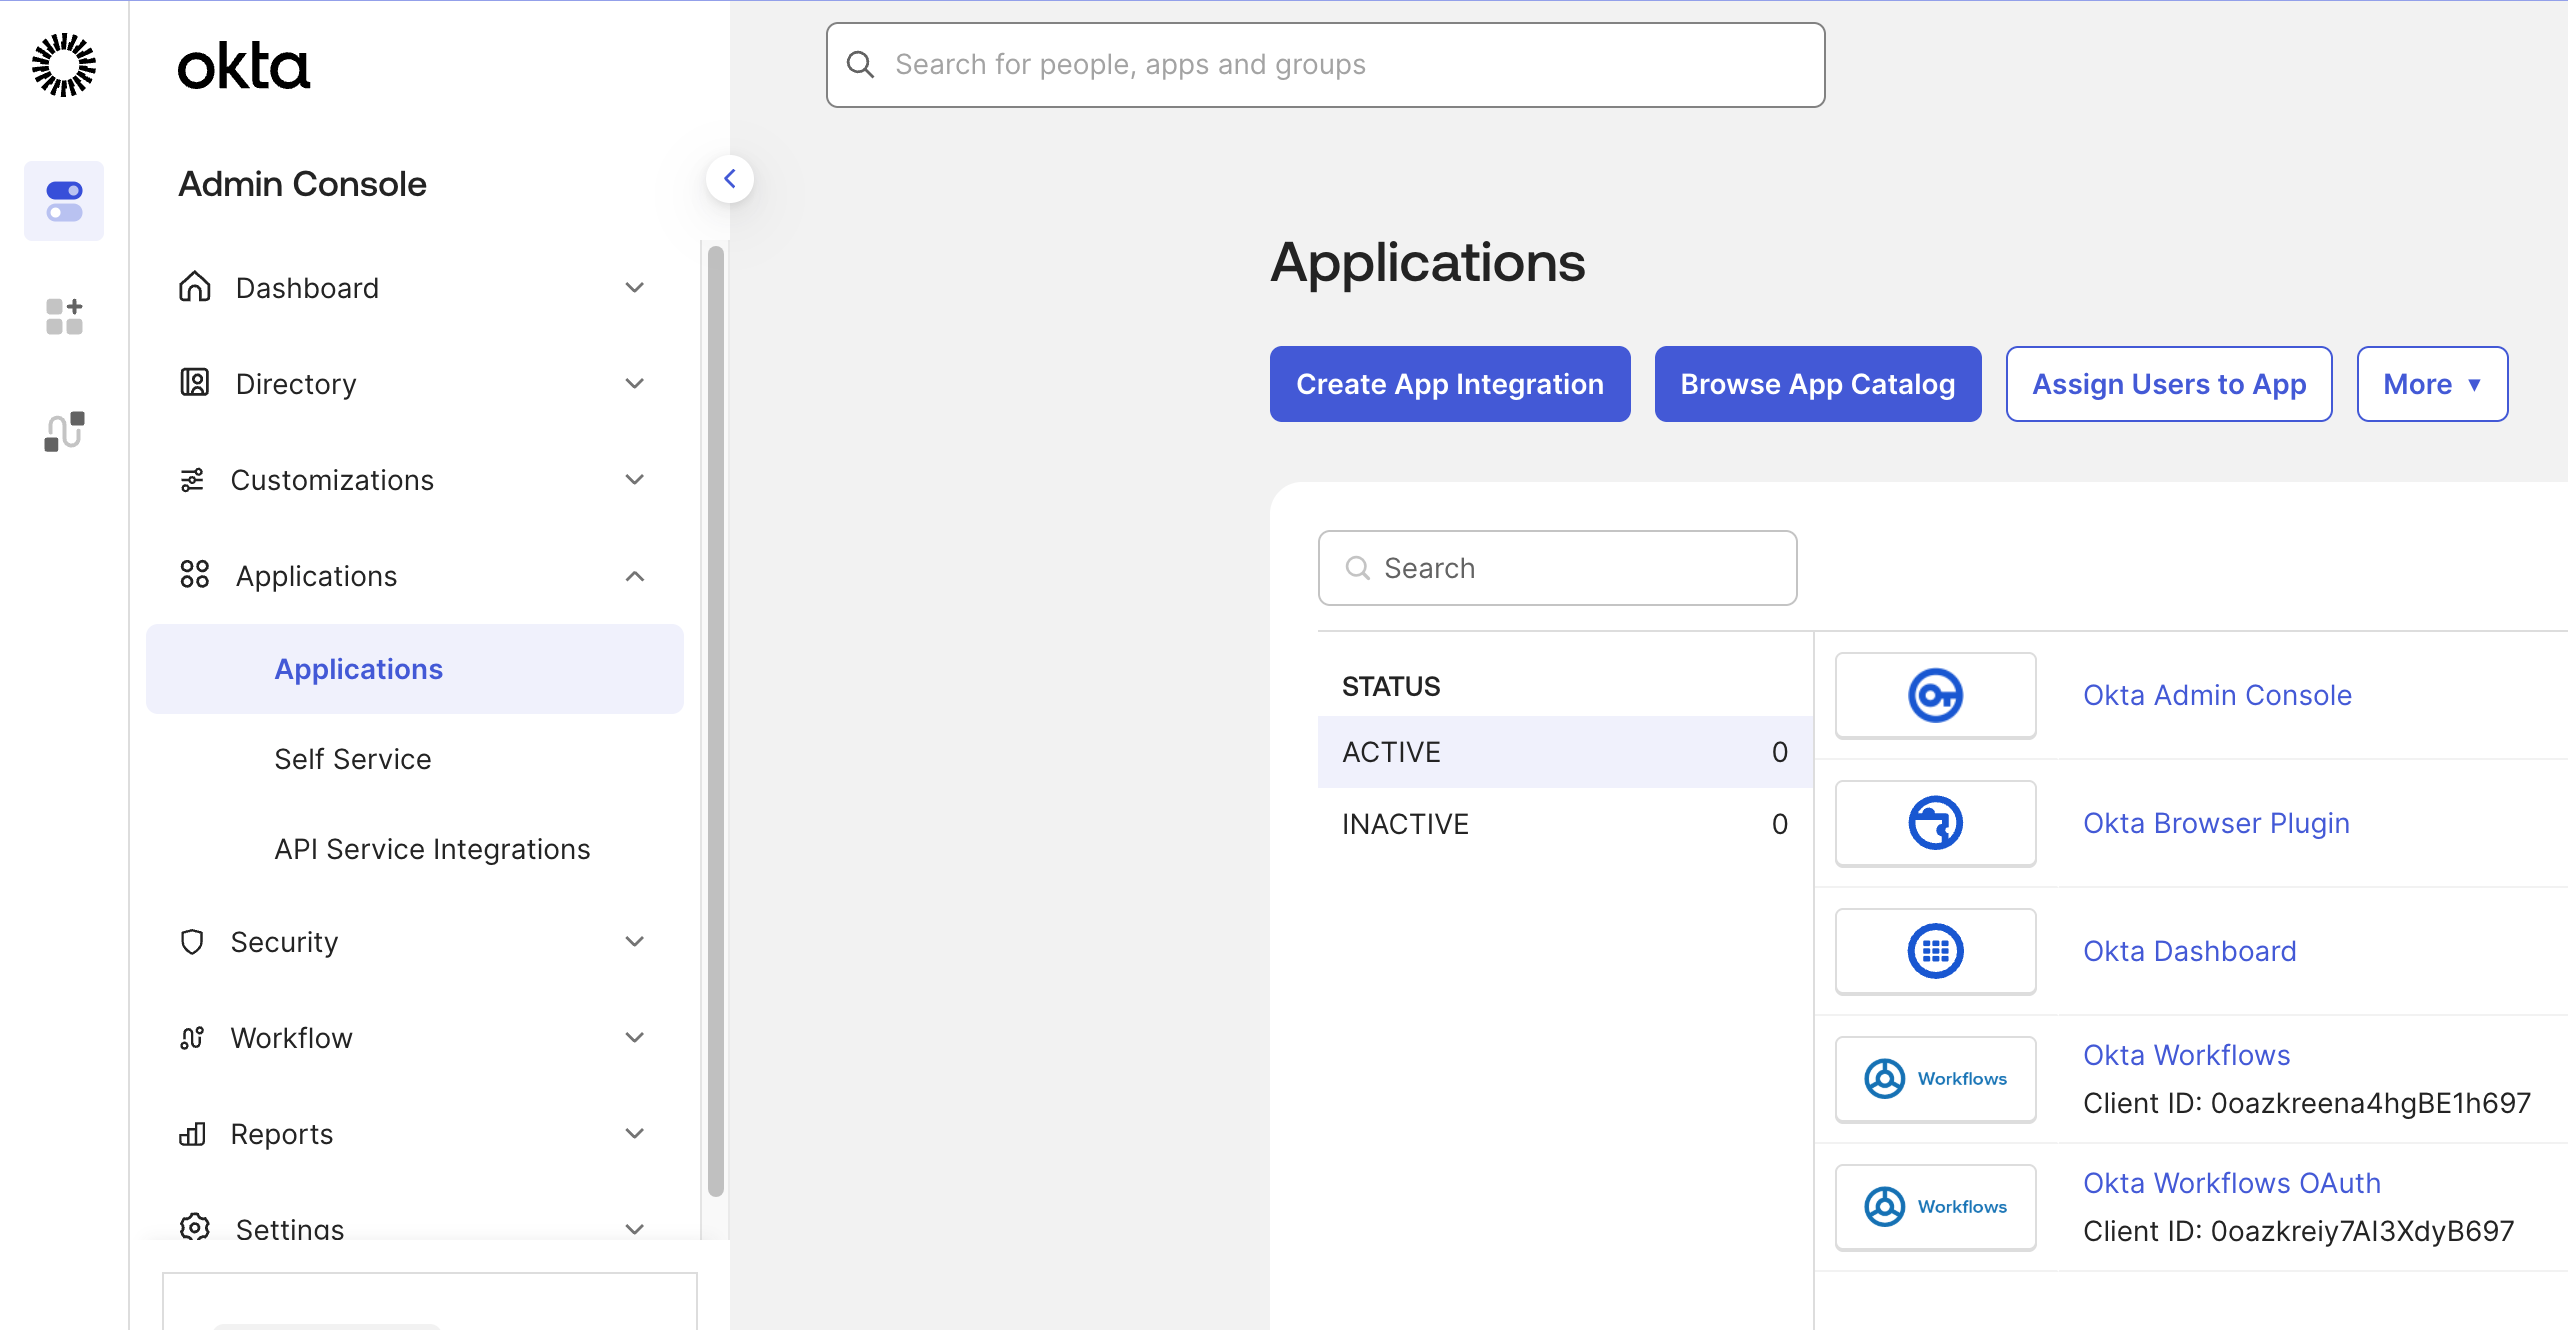
- In the navigation sidebar, select the Applications dropdown and select Applications.
- Select Create App Integration.
- In the Create a new app integration modal, select the SAML 2.0 option and select the Next button.
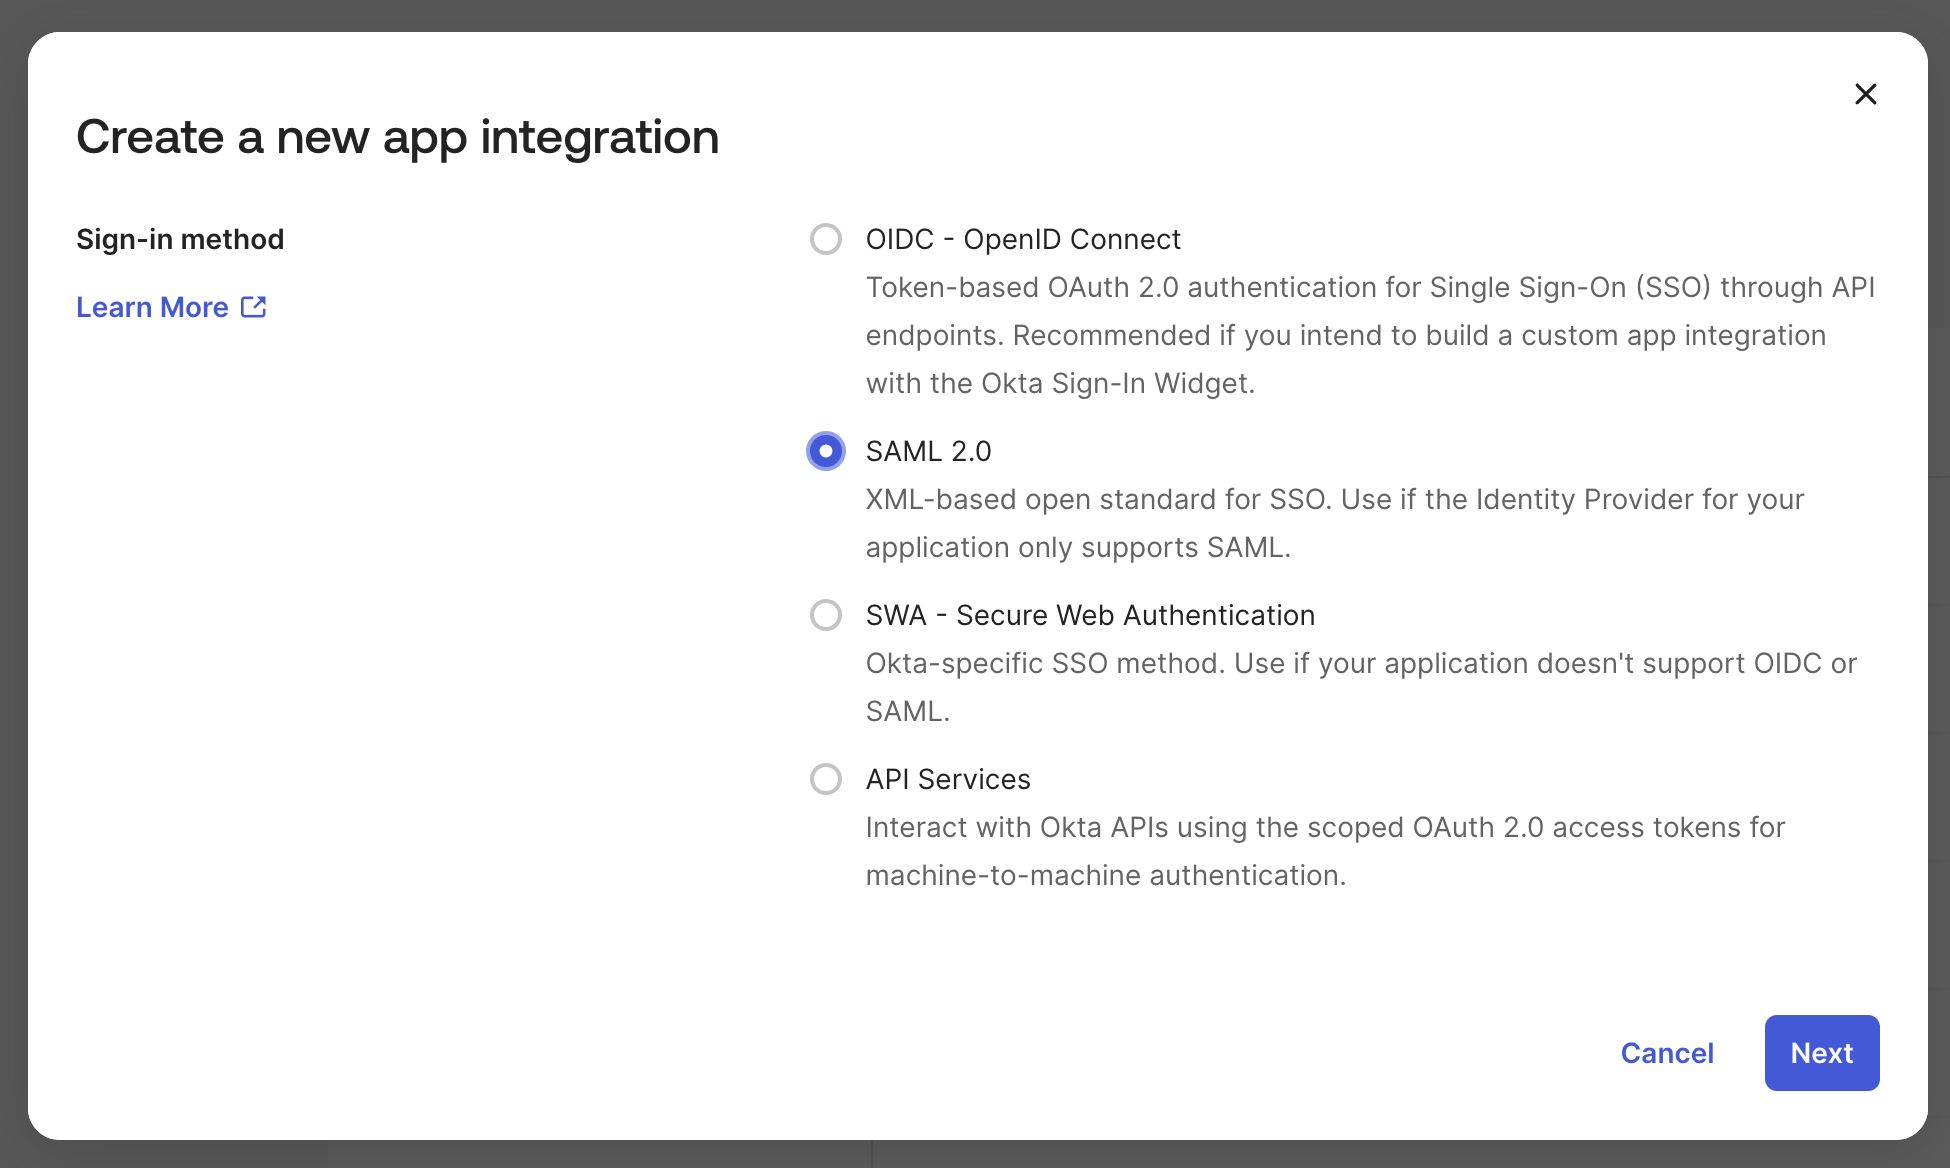
- Once redirected to the Create SAML Integration page, complete the General Settings fields. An App name is required (e.g., “Ally Security”).
- Select Next. You’ll be redirected to the Configure SAML page.
Step 2: Configure SAML Settings
You’ll need to enter the following information that we (Ally Security) will provide to you:- Single sign-on URL: Paste the Single sign-on URL provided by Ally Security into the Single sign-on URL field.
- Audience URI (SP Entity ID): Paste the Audience URI (SP Entity ID) provided by Ally Security into the Audience URI (SP Entity ID) field.
Step 3: Configure Attribute Mappings
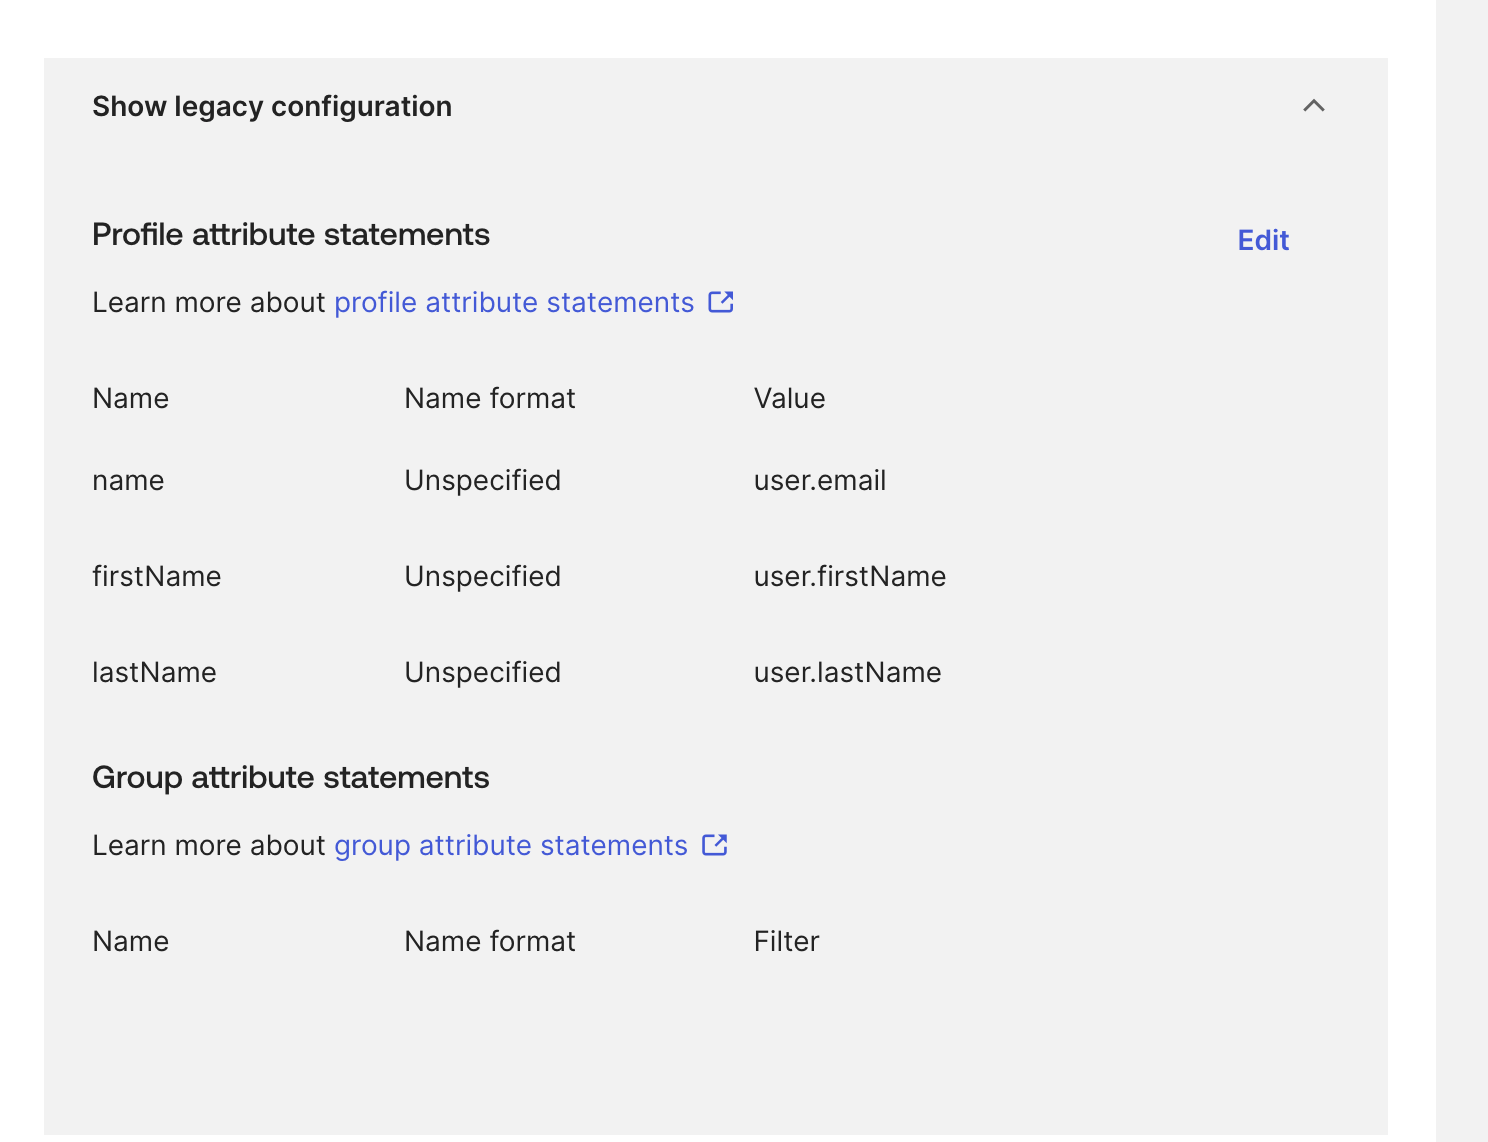
Ally Security requires specific attributes in the SAML response. Configure the following attribute statements:-
In the Attribute Statements (optional) section, add the following attributes:
Email address (required)
- Name field:
mail - Value field: Select
user.emailfrom the dropdown
- Name field:
firstName - Value field: Select
user.firstNamefrom the dropdown
- Name field:
lastName - Value field: Select
user.lastNamefrom the dropdown
- Name field:
- Scroll to the bottom of the page and select the Next button to continue.
- You will be redirected to the Feedback page. Fill out the feedback however you would like and select the Finish button to complete the setup.
Step 4: Assign Users or Groups
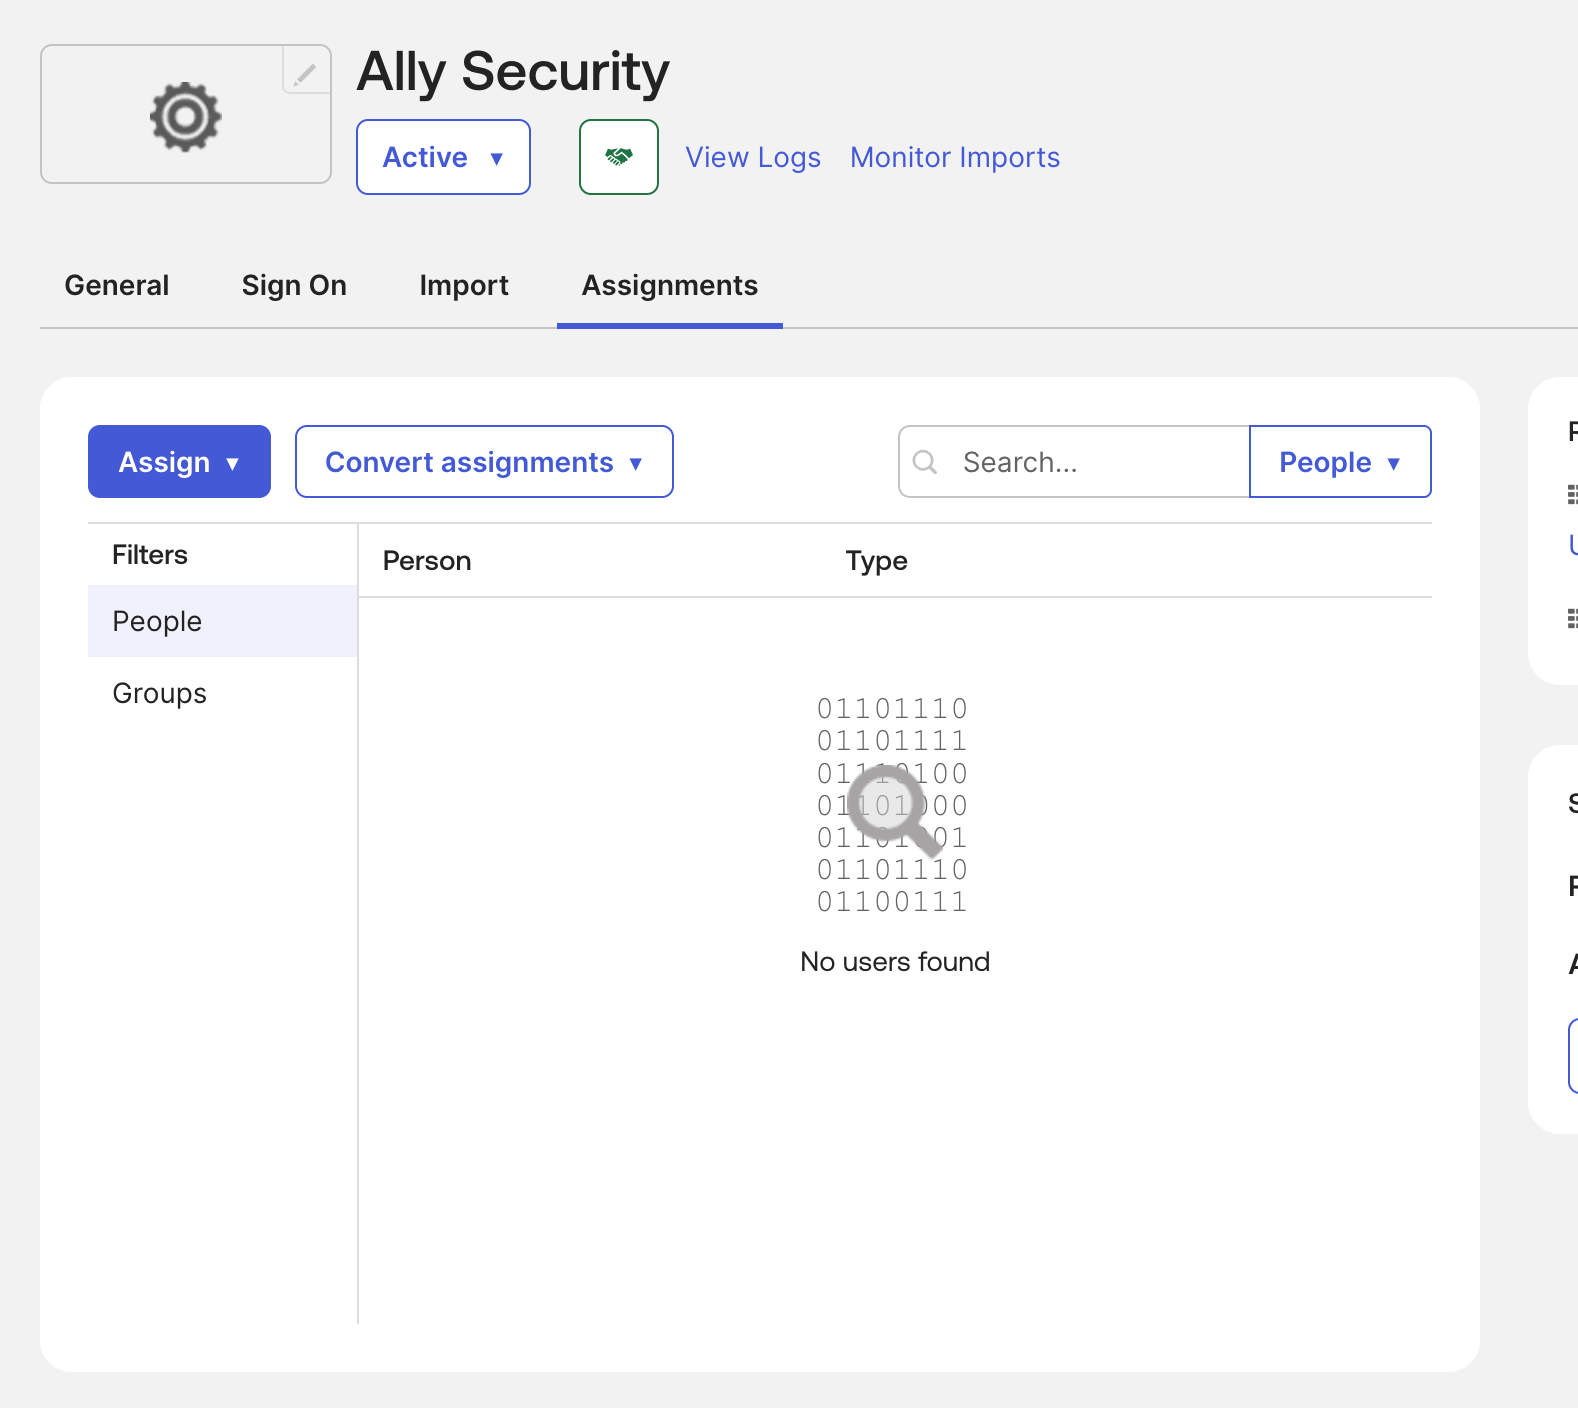
Before users can sign in using SSO, you need to assign them to the enterprise app:- In the Okta dashboard, select the Assignments tab.
- Select the Assign dropdown. You can either select Assign to people or Assign to groups.
- In the search field, enter the user or group of users that you want to assign to the enterprise app.
- Select the Assign button next to the user or group that you want to assign.
- Select the Done button to complete the assignment.
Step 5: Share the Metadata URL with Ally Security
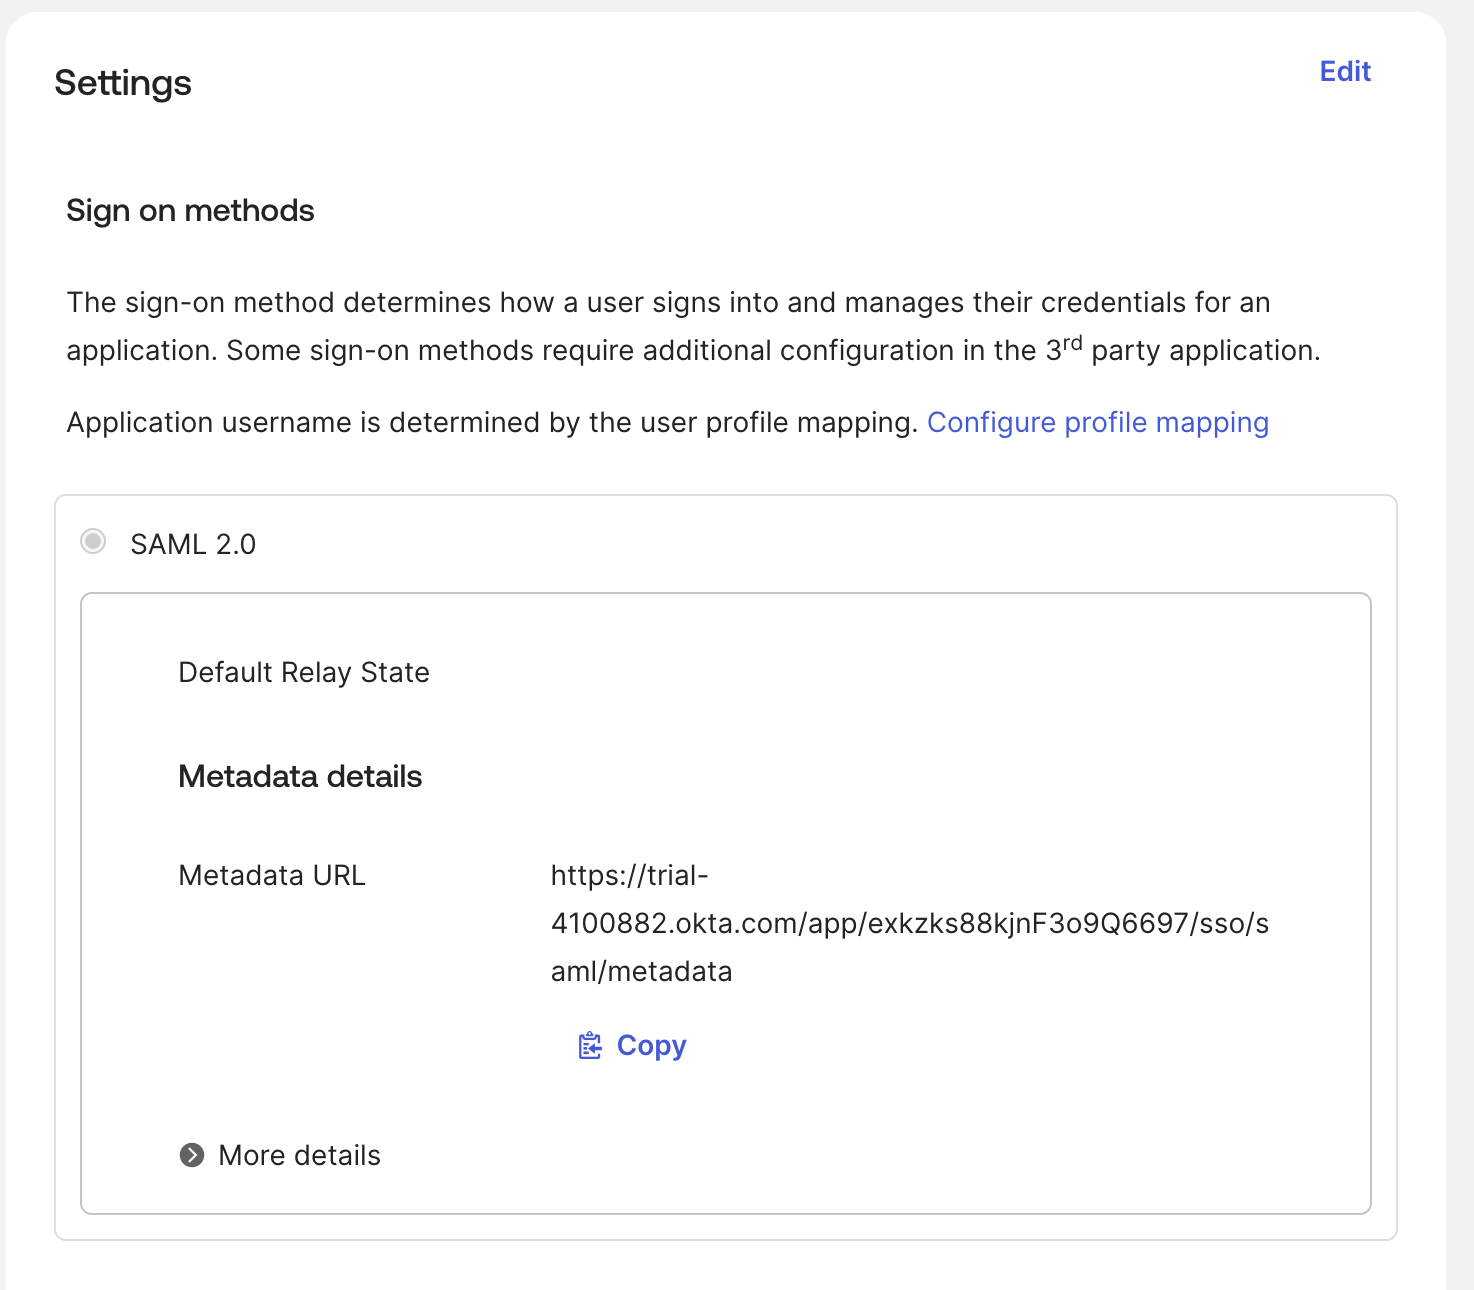
After completing the setup in Okta, you’ll need to provide Ally Security with your app’s metadata URL:- In the Okta dashboard, navigate to your application’s page.
- Select the Sign On tab.
- Under Sign on methods, locate the Metadata URL.
- Copy the Metadata URL.
- Share this URL with your Ally Security contact or support team.
What to Provide to Ally Security
To complete the SSO setup, please provide the following information:- Metadata URL: The Metadata URL from your Okta app (as described in Step 5)
- Email domain: The email domain(s) that should be enabled for SSO (e.g.,
@yourcompany.com) - Test user email (optional): An email address of a test user that can be used to verify the SSO configuration
After Setup Is Complete
Once Ally Security has configured SSO on our end:- All users with email addresses ending in your configured domain will be redirected to Okta for authentication
- Users will sign in using their Okta credentials
- Existing users with matching email domains will need to use SSO to sign in
Troubleshooting
If you encounter issues during setup:- Verify attribute mappings: Ensure that the attribute names (
mail,firstName,lastName) match exactly as specified - Check user assignments: Confirm that users or groups have been assigned to the Okta app
- Verify domain configuration: Ensure the email domain matches what was provided to Ally Security
- Contact support: Reach out to Ally Security support if you need assistance with the configuration